This is probably the first and last time I will ever get to make a Fourth of July cake. Or at the very least it will definitely be the last time I make it in March.
As you saw in my last post, my good friend Christine recently celebrated her 21st birthday (we were very nearly birthday twins, but she beat me by a day). In honour of this USA-coming of age and her partial American heritage, she had a “Legal in America” theme, and with such I was required to prepare for my first ever all-American themed bash.
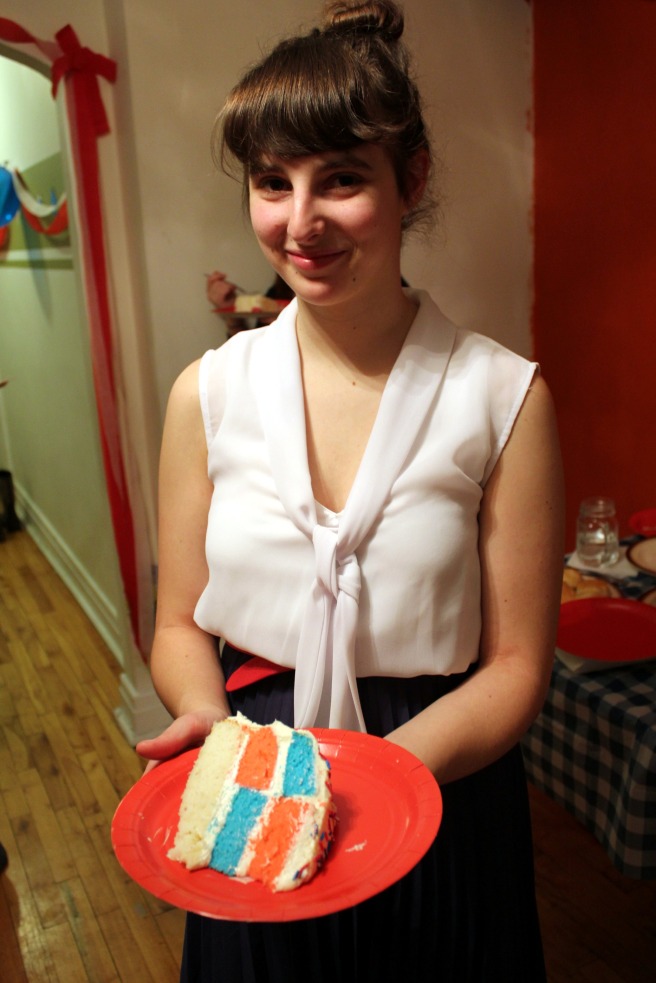
I am not one to take party themes lightly. I knew I had to bake something extra impressive for Christine and her birthday, since she has so patiently sat through stories of a variety of my cakes, cupcakes and cookies, without getting to eat a bite. Hopping around on the Internet one night, I stumbled on this really cool cake concept on a blog called “17 and Baking.” First, HOLY, this 17-year-old (Elissa) is a baking/blogging rock star. She’s been featured on loads of websites, shows and EVERYTHING and she is still only in her teens. I graciously bow in her presence. Also, she’s a j-school student and half-Asian. Other than the fact that she is way more awesome at the aforementioned two things, we seem very similar. Anyways, the inside of her cake looked like an American flag, and I fell in love. Check out the link here (I would feel bad posting one of her fantastic pictures on my blog).
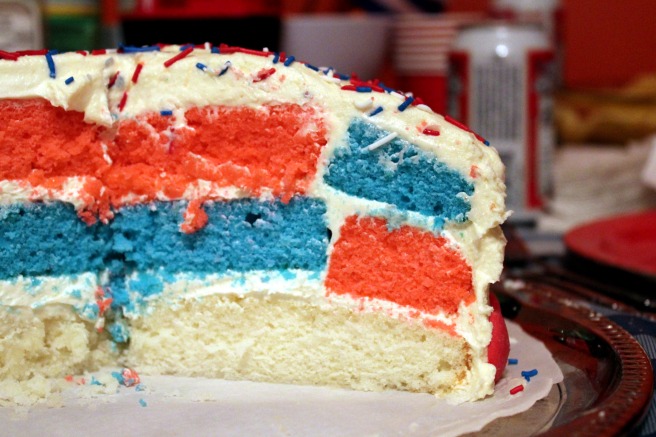
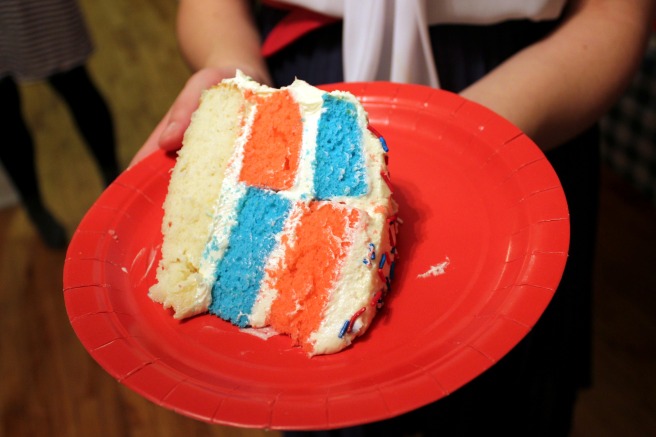
As wicked as Elissa’s cake looked, her instructions were a tad time-consuming, and were not ideal since I had left the making of this cake until the morning of the party (all before I rushed to class at 11:30 a.m.). And so, I decided to tone down the American hype just a bit and go with a checkerboard-like pattern, still embracing the good ol’ red, white, and blue of our neighbouring nation.
If you ever plan on making coloured cakes, you MUST invest in gel food colouring. It is amazing. Great, great, magical stuff that makes colours more bright than traditional food colouring ever could. My cakes looked like colourful sponges that would be used in a kindergarten classroom. After my initial disturbance by seeing such brightly hued cakes, I decided that regardless of their wonky colour, they would still be delicious. Also, I LOVE that I’ve conquered my kitchen’s oven. Not to brag or anything, but these cakes were perfectly baked…
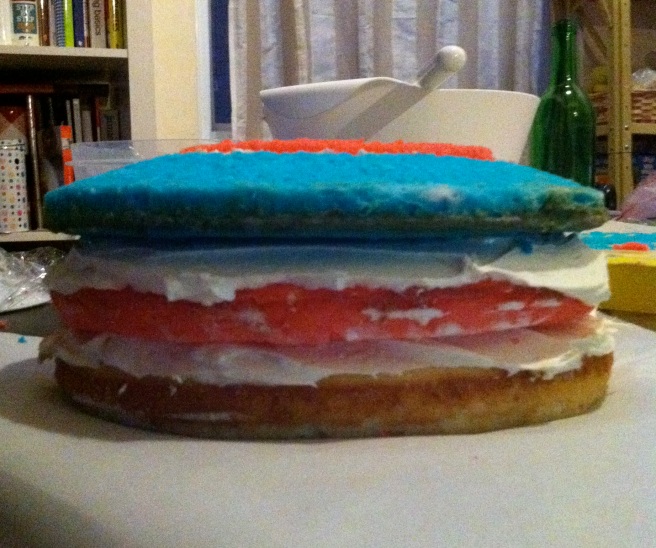
FINALLY (I seem to be using a lot of unnecessary caps in this post, I’m channeling my inner Kanye West blogger apparently), white chocolate icing is really yummy. I added twice as much chocolate as the recipe (see below) requested, and am so incredibly happy I did. It was like eating a creamy chocolate bar. Yum.
I officially award this cake the “most badass birthday cake award” and feel like I have finally topped (or at least tied) my pool party cake. What comes next? I’m thinking a rainbow cake (this girl is also 19, apparently I’m really far behind these talented American teens).
Enjoy the pictures and, I guess I have to say this, god bless America!
PS: see my adaptation of this recipe below the pictures.
Recipe: America the Brave Cake
Idea adapted from 17 and Baking
Cake and icing adapted from Delectable Deliciousness
Cake
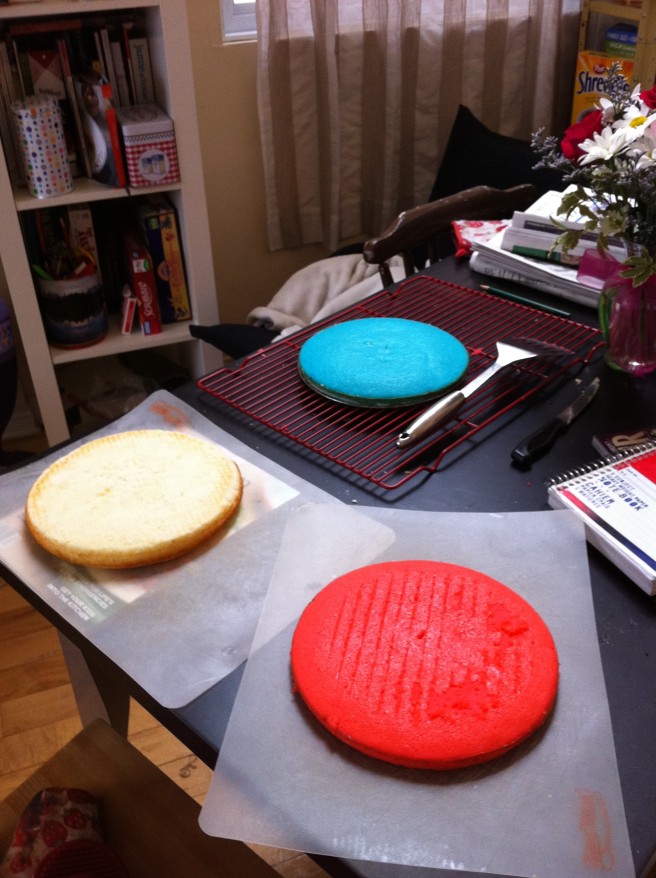
Note: I had to make one and a half times the original recipe to make my three layered cake, so I’ve just written down the ingredients as you’ll need them so you don’t need to go and make an additional half batch of cake later.
– 3 1/3 cup cake flour
– 1 1/2 tbsp baking powder
– 3/4 tsp salt
– 1 3/4 cup whole milk (3%)
– 6 large egg whites
– 2 1/4 cups sugar
– 3 tsp grated lemon zest
– 1 1/2 sticks unsalted butter (12 tbsp), room temperature
– 3/4 tsp lemon juice
Preheat oven to 350°F. Line the bottom of a 9-inch spring form pan with parchment paper. Butter and flour the sides to prevent sticking later. Note: you an also use normal cake pans, but I just love using my spring form pan for everything.
Sift together flour, baking powder and salt. Set aside.
Whisk together the milk and egg whites in a medium bowl. Set aside.
In a large bowl, combine the sugar and lemon zest and rub the lemon zest into the sugar with your fingers until well incorporated. The mixture will become moist and very fragrant.
Add the butter to the sugar/zest mixture and beat on medium speed until well combined. Add the lemon juice and 1/3 of the flour mixture; add 1/2 of the milk/egg white mixture and continue to beat at medium speed, then add half of the remaining flour mixture, then the rest of the milk/eggs and finish with the remaining flour. Once all ingredients are combined, beat the batter for a good 2 minutes to ensure it is thoroughly mixed and well areated.
Divide the batter into three large bowls. Add in a small amount (less than 1/4 tsp) of red and blue gel food colouring to two of the bowls. Mix well to combine colour.
Pour into prepared pans and bake until a toothpick inserted into the center comes out clean.
Makes enough for three 9-inch cake layers.
White chocolate frosting
– 15 ounces good quality white chocolate, finely chopped or shaved
– 1 1/2 sticks unsalted butter, room temperature
– 4 1/2 cups icing sugar, sifted
– pinch salt
– 3/4 tsp vanilla extract
– 1/3 cup sour cream
Melt white chocolate over a double boiler or in microwave. Set aside to cool. In a large bowl, beat the butter until light a fluffly. Slowly add the sifted icing sugar until well combined. Add the salt, vanilla extract and sour cream and beat until very smooth. Add the melted white chocolate and beat just until combined.
Makes enough to ice a three layer cake.
To assemble the cake
Alright, now the fun really begins! What I ended up doing was far more difficult than the horizontal cake slicing and placement that the original recipe required, so I hope you can follow along.
If your cakes didn’t bake completely flat, take a serrated knife and cut off the dome part, so that you have three perfectly flat cakes.
Nothing fancy will be done with the white cake, so just leave that one alone. For the red and blue layers, find a bowl in your kitchen that is about half the diametre of your cakes. Place the bowl upside down on the cake and cut around the bowl, leaving you with a blue cake ring, a red cake ring, a blue centre and a red centre.
Ice the top of the white cake, which will be the bottom layer.
Carefully place the red ring cake on top of this iced white cake. Put a light layer of frosting around the inside of the ring. Put the blue centre (the one that you cut out of the blue cake ring) into the hole. Ice the top.
Carefully place the blue ring cake on top of this iced second layer. Again, put a light layer of frosting around the inside of the ring. Put the red centre (the one that you cut out of the red cake ring) into the hole.
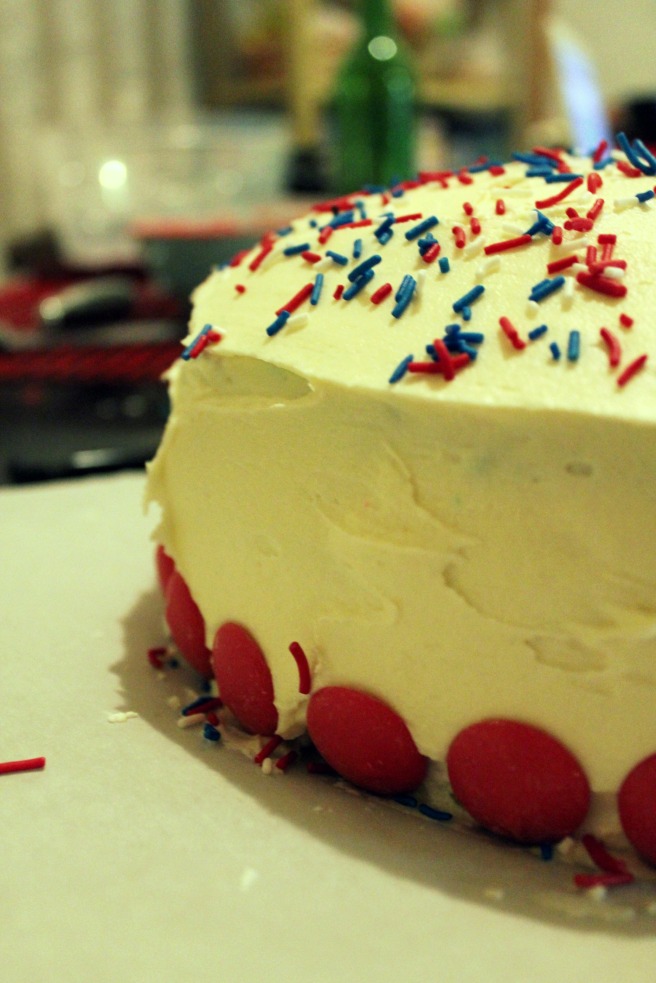
Ice the top of the cake lightly and refrigerate it for half an hour. This will serve as a crumb layer of icing so that pieces of the cake don’t mix in with the icing for the final layer. After this half hour is done, take the cake out of the fridge and ice the rest of it, smoothing frosting over the top and sides with a frosting spatula.
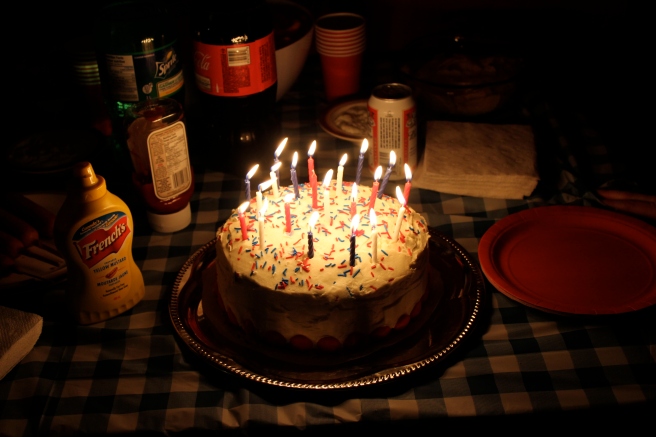
Decorate your cake with whatever you want – sprinkles, American flags, sparklers. The rest is up to you.

It was so yummy! Thanks for delighting my tastebuds!
Cat! Thanks for the comment. Glad you enjoyed it :) just you wait for the cake I plan on making for our last multimedia class!